
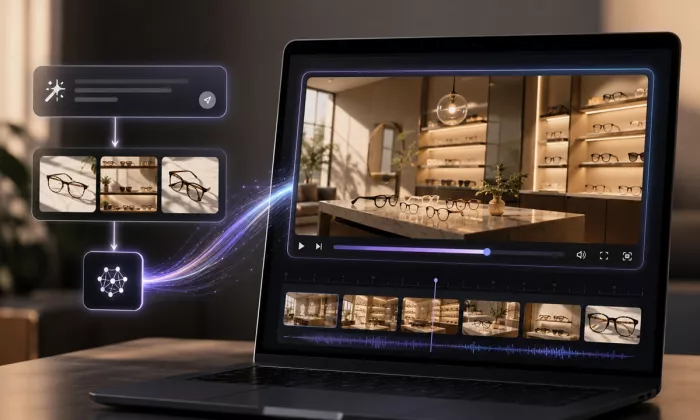
AI image and video tools have made visual creation much faster.
A creator can generate a product concept, character, fantasy object, or advertising scene from a short prompt. That image can then be animated with an image-to-video tool, turning a static composition into a short clip within minutes.
For many projects, this direct workflow is enough.
A portrait can blink or turn slightly. Clouds can move across a landscape. A product can appear to float while the camera slowly pushes forward. A social post can gain enough motion to become a short video.
However, image-to-video has an important limitation: it animates a view of an object rather than giving the creator complete control over the object itself.
If the camera needs to move behind the subject, the model has to invent information that was not present in the source image. If the same character appears in several clips, its proportions or details may change. If the creator wants to adjust the light, material, camera angle, or environment, much of the scene may need to be generated again.
This is where a 3D asset can provide a different kind of flexibility.
Instead of asking AI to create every finished shot independently, the creator can first turn a selected image into a three-dimensional model. That model can then be rotated, relit, placed in different environments, animated, and reused across several pieces of content.
The workflow is longer than direct image-to-video generation, but it gives the creator more control and consistency.
The important question is not which method is universally better.
It is knowing when a static image should be animated directly and when it should become a reusable 3D asset first.
A generated image can enter video production in two main ways.
The creator uploads one image and asks the AI video tool to generate movement.
The tool may animate:
This method is fast and works well for short clips that remain close to the original composition.
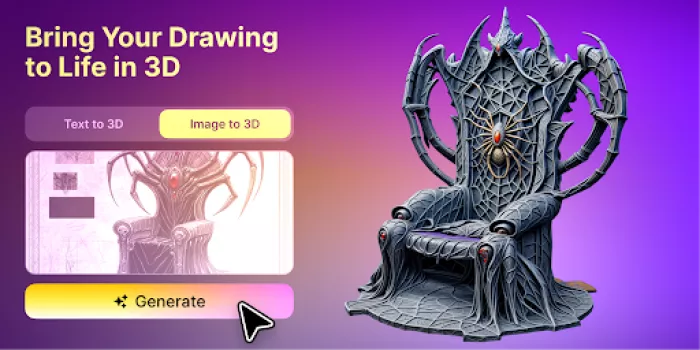
The creator first converts the image into a three-dimensional model.
The model can then be imported into animation, rendering, game, motion design, or real-time software. The creator controls the camera, light, materials, position, and movement before rendering the final video.
This method requires more preparation but provides more predictable control.
The choice depends on the intended shot.
Not every visual needs to become a 3D model.
Direct image-to-video is often the most efficient option when the creator needs:
For example, imagine an AI-generated portrait of a fantasy character standing in the rain.
If the final clip only needs blinking, slight hair movement, falling rain, and a slow camera push, converting the entire character into a 3D model may add unnecessary work.
The same is true for many product mood shots.
If a perfume bottle only needs to remain centred while light passes across it, direct image animation may be enough.
The creator should not build a more complicated pipeline when the simpler one already delivers the required result.
Problems appear when the video moves too far beyond the source image.
A two-dimensional image only contains visible information from one viewpoint. It does not fully describe:
When an image-to-video model moves the camera, it must invent those missing areas.
Sometimes the result looks convincing for a few seconds. Other times, the object begins to distort.
Common problems include:
These problems are not necessarily failures of the tool.
They are consequences of asking a flat image to provide information it never contained.
A 3D-first workflow becomes more useful when the project needs:
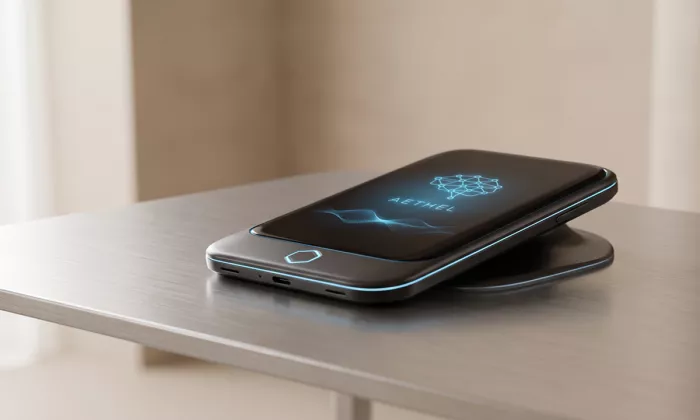
Consider a small brand creating a series of product videos.
The first clip may show the product rotating on a neutral background. The second may place it in a futuristic environment. The third may use it in a vertical social advertisement. The fourth may show a close-up of one detail.
Generating every clip independently from a flat image may produce visual differences between shots.
A 3D model gives the team one consistent object that can be used throughout the campaign.
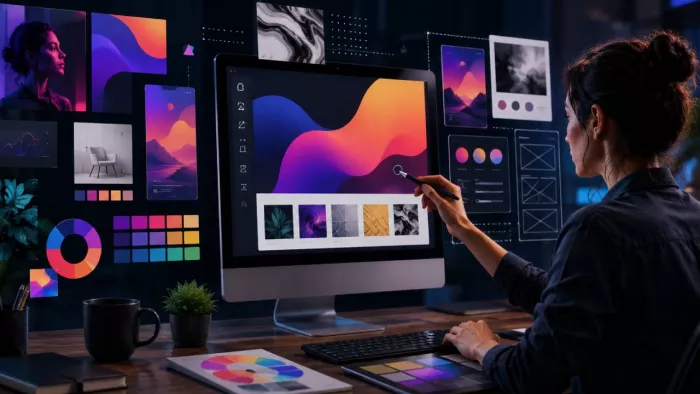
The workflow begins with selecting a suitable reference.
AI image tools often produce visually impressive pictures, but not every image is equally useful for 3D generation.
The strongest references usually have:
A clean product concept on a simple background will generally be easier to convert than a complex image containing several objects and dramatic effects.
For characters, make sure that arms, legs, accessories, and clothing do not merge into the background.
For objects, avoid angles where important parts are completely hidden.
When the initial concept is still flexible, generate more than one image.
The most visually dramatic picture is not always the best source for 3D conversion.
A highly cinematic image may have heavy shadows, depth of field, smoke, reflections, and a complex background. These qualities make the picture attractive but can make the object harder to interpret.
A more useful reference may have:
The creator can keep the dramatic version as a style reference while using the cleaner version for 3D generation.
This separates two goals:
Creating an appealing image
Providing useful structural information
They do not always require the same picture.
Before converting the image, clean it.
Remove elements that the system might mistake for part of the model, such as:
Keep important details intact.
Thin straps, handles, antennae, jewellery, hair sections, and decorative edges may be essential to the model’s identity.
A transparent background can help when the subject is already isolated clearly.
The aim is not to remove every artistic quality. It is to make the object easier to understand.
Once the reference is ready, it can be placed into an image to 3D workflow.
Traditionally, turning a concept image into a usable 3D model required a time-consuming pipeline: manual modeling, sculpting, retopology, UV mapping, and texturing. This process could take hours or days depending on complexity and skill level.
AI significantly reduces this effort by automating much of the early-stage work. Instead of building the model from scratch, the system uses the visible image to estimate the object’s volume, geometry, and surface appearance, allowing creators to move from concept to a usable draft model much faster.
Because the source only shows one viewpoint, hidden areas must still be inferred. The rear, underside, and internal structure may not match the creator’s original idea.
This means the generated model should be treated as an interpretation.
At this stage, the goal is to answer several questions:
The first generation does not need to be perfect to be useful.
Do not evaluate the model only from the front.
Rotate it slowly and inspect:
Pay particular attention to surfaces the reference image did not show.
A product may look correct from the original angle but have an unrealistic back. A character may have good facial detail but poorly formed clothing behind the body. A piece of jewellery may lose its structure when viewed from the side.
Also check whether the model feels too thick, too thin, too symmetrical, or too smooth.
These problems matter more when the camera will move widely around the object.
If the final video uses only a limited range of angles, some hidden imperfections may never become visible.
The required quality should match the shot.
If the model has major structural problems, it may be faster to adjust the reference image and generate again.
Possible changes include:
If the overall form is good and only a few areas are weak, manual editing may be more efficient.
A 3D artist can correct geometry, rebuild important parts, improve textures, and prepare the asset for animation.
The creator does not need to choose between full automation and full manual modeling.
A hybrid workflow is often the most practical option.
Creating the basic shape is only one part of asset production.
The model may still need texturing, material preparation, refinement, and export. For creators without advanced 3D experience, managing each stage separately can become difficult.
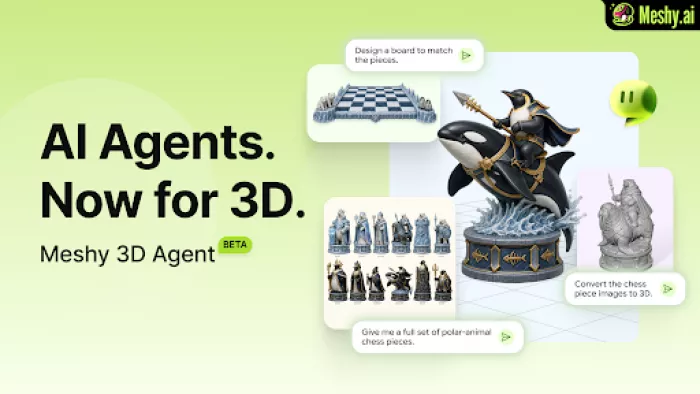
Meshy 3D Agent is designed to automate a broader part of the process, connecting concept interpretation, model creation, and texturing within an AI-driven workflow.
This does not remove the need for review.
The creator still has to judge:
Automation is most useful when it removes repetitive setup while keeping the creative decisions visible.
Before importing the model into a video or animation workflow, check its technical condition.
The model should use a reasonable and consistent size.
Incorrect scale can affect cameras, lights, physics, and scene organization.
Make sure the object faces the correct direction and stands upright.
The model should rotate around a useful centre.
A product normally rotates around its centre or base. An incorrect pivot can make animation difficult.
Remove unnecessary parts and repair obvious holes or intersections.
Check whether the textures are connected correctly and whether the resolution matches the intended shot.
Test how the surfaces respond to new lighting.
Some generated textures may include baked-in highlights or shadows that look strange in another scene.
Heavy models may slow down real-time previews and make collaborative workflows more difficult.
Preparation does not need to be perfect for an early test, but it should be stable enough for the next stage.
Different workflows use different formats.
Often useful for animation and game engines. It can carry more scene and animation-related information than simpler formats.
Widely supported and useful for static geometry, although textures and materials may require separate files.
Useful for real-time previews, web experiences, lightweight sharing, and some modern production pipelines.
Primarily intended for 3D printing and usually not the first choice for textured video production.
For animation, FBX may be the most practical starting point. For browser-based or real-time content, GLB may be more convenient.
The creator should choose the format based on the next tool in the workflow rather than selecting one format for every situation.
Before creating a complete video, place the model into a basic scene.
Use:
This test reveals whether the asset is ready for further work.
Look for:
It is easier to solve these problems in a simple scene than after the object has been placed inside a complex environment.
One advantage of working in 3D is that the creator controls the camera.
However, more camera freedom does not automatically produce a better video.
Begin with simple movements:
Test whether the model remains convincing throughout the movement.
Some generated assets work well within a limited camera range but reveal problems during a full rotation.
The best shot may avoid weak areas rather than forcing the model to perform from every angle.
This is normal in professional production. Even carefully built assets are often filmed from their strongest views.
Lighting is one of the main reasons to use a 3D asset.
The creator can change the mood without regenerating the entire image.
The same model can appear:
Begin with a simple lighting setup and study how the surfaces respond.
A product with reflective material may need large soft lights. A stylized character may look better with simple directional lighting. A translucent object may need backlighting.
Generated textures may not always behave like physically accurate materials.
If a highlight or shadow is already painted into the texture, new lighting can create an inconsistent result. In that case, the texture may need correction or replacement.
Not every model requires complex animation.
Simple object animation can already produce useful content.
Examples include:
Characters and deforming objects require more preparation.
A character usually needs suitable topology, a skeleton, skinning, and control systems before it can walk or perform detailed movement.
An AI-generated character model may still be useful for static poses, camera tests, concept videos, or as a reference for professional rigging.
Creators should distinguish between moving an object and deforming a character.
The second is much more demanding.
Once the model is prepared, it can support several content formats.
A single product asset could produce:
This is one of the main advantages of the 3D-first approach.
The setup requires more effort, but the asset can continue creating value.
Instead of generating one finished clip, the creator builds a reusable visual component.
The two methods can be compared directly.
Direct image-to-video is usually faster.
3D production requires generation, inspection, scene setup, and rendering.
3D provides more control over camera, light, material, and composition.
Image-to-video offers control through prompts and settings, but the result is less predictable.
A 3D asset remains structurally consistent across multiple shots.
Image-to-video may change details between generations.
A 3D model can be reused across videos, games, websites, AR, and other experiences.
A generated video is usually tied to one shot.
Image-to-video is easier for beginners.
A 3D-first workflow may require basic knowledge of cameras, lights, materials, animation, and export formats.
Image-to-video is ideal for fast, short, single-shot content.
3D is better when the object needs to exist consistently across several views or projects.
Creators do not have to choose only one method.
A 3D render can become the source image for an image-to-video tool.
This hybrid workflow offers several advantages.
The creator first uses the 3D model to control:
The rendered image is then animated with AI video to add:
This approach combines structural control with generative motion.
For example, a creator could build a consistent product shot in 3D and then use image-to-video to add flowing light, particles, or surreal environmental effects.
The core object remains stable because its appearance was established before the video generation step.
A 3D model allows consistent product representation across several advertisements and camera angles.
A generated character can be inspected from multiple sides and used in concept films, game previews, or pitch presentations.
Reusable 3D props can appear in multiple vertical videos without being regenerated every time.
A concept image can become an early model for testing scale, composition, and environment design.
Objects can interact with typography, transitions, and abstract effects.
The same model can move beyond video and appear inside browser-based or augmented experiences.
Designers can show how a concept develops from image generation into a reusable asset and final animation.
Some images work better as images.
If the final content only needs a small amount of movement, direct image-to-video is often more efficient.
Generated models usually require inspection and sometimes correction.
The back and underside may contain major errors.
A highly detailed model can slow down the workflow without improving the final result.
If several people edit different copies, the project may lose track of the approved model.
A simple shot can look more professional than an ambitious movement that exposes model weaknesses.
A visual concept may contain invented details and should not be presented as a precise commercial model without review.
Use direct image-to-video when:
Use image-to-3D-to-video when:
Use a hybrid workflow when:
AI image generation is a powerful starting point.
It allows creators to explore products, characters, props, and entire visual worlds without waiting for a full production process.
Direct image-to-video can then turn those ideas into motion quickly.
But when the project requires consistency, multiple angles, precise lighting, or repeated use, a flat image may not provide enough control.
Turning the image into a 3D model creates a reusable asset rather than a single finished clip.
The workflow requires more decisions. The model must be inspected, prepared, exported, lit, and animated. Some assets will still need professional editing.
In return, the creator gains control over how the object is seen and where it can be used.
The most effective AI workflow is not always the shortest one.
It is the workflow that creates the right balance between speed, control, consistency, and reuse.
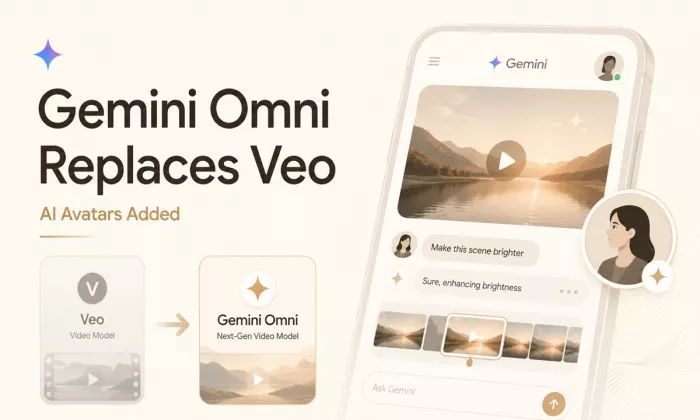
Google is officially retiring Veo as the default video model inside th...
Testing noteI originally wanted to test Seedance 2.5, but it was not f...
In today’s fast-moving digital world, visuals do most of the talking....
SpaceX is usually associated with rockets, satellites, and interplanet...
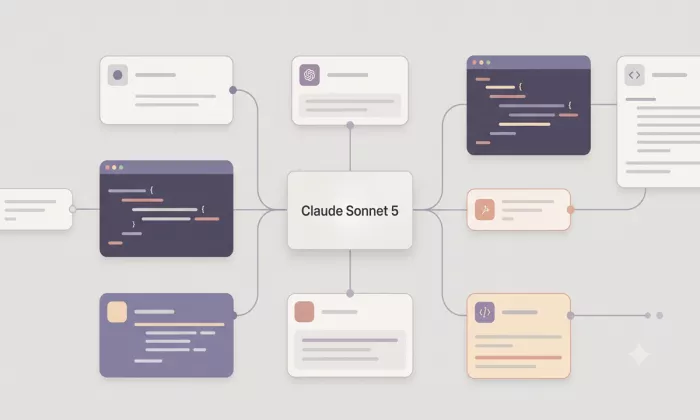
Anthropic has introduced Claude Sonnet 5, its new mid-tier AI model de...

Nastia AI and Candy AI are two of the more talked-about AI companion p...
Discussion