
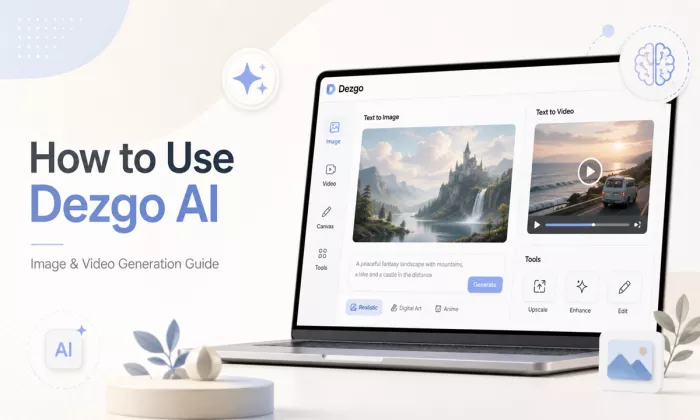
Dezgo AI is a browser-based generation hub: you pick a model, type a prompt, and get an image or a short video back, no installs and no GPU of your own. The appeal for beginners is that it stacks a long list of image and video models behind a single input box, so you can move from a Stable Diffusion-style still to a WAN or Kling video clip without learning five separate apps.
The part that trips people up on day one is the money side. The dashboard shows dozens of models, but a big chunk of the good stuff anything video, plus batch generation and queue-skipping sits behind a paid balance called Power Mode. So the platform feels free until you hit a wall, and that wall arrives faster than most newcomers expect.
This guide goes through Dezgo the way you actually meet it: the passwordless login, the model dashboard, each tool one at a time, the Power Mode prompts, and a full start-to-finish run on a free account. By the end you'll know what's genuinely free, what draws down credits, and what to expect before you spend a cent.
Dezgo runs entirely in the browser, so the only thing you install is nothing. Head to the homepage, open the Login screen, and you'll notice there's no password field, the whole system is passwordless.
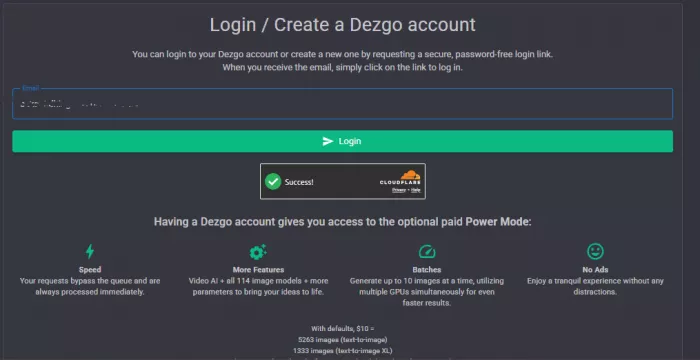
You give it an email, and it sends you a one-time link to get in.
Before the link goes out, a Cloudflare box runs a quick human check and flips to a green “Success!” once you clear it. Then a small dialog confirms the login link is on its way and reminds you to look in spam if it's slow.
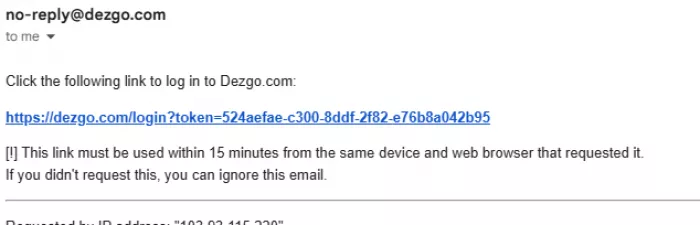
The email arrives from [email protected] with a single sign-in link. One detail worth catching: that link is short-lived it has to be used within 15 minutes, and from the same device and browser that requested it. Open it on your phone after requesting it on your laptop and it won't work.
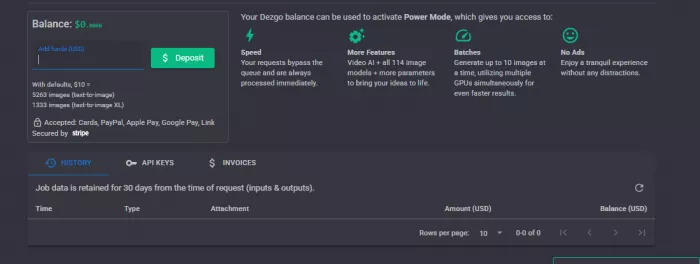
Real example A user types their email and hits Login. Cloudflare shows “Success!” and the dialog reads “Login link sent.” The email lands from [email protected]; clicking the link opens the account page. The dashboard loads with a “Successfully logged in” toast and a starting Balance of $0.0000 — a fresh free account. |
Once inside, the account page shows your email, an Account ID, that balance, and a note that job data (inputs and outputs) is kept for 30 days. Good to know if you ever need to pull an old result back.
The layout is two-part: a left sidebar for navigation and a main grid of model thumbnails. The sidebar groups everything by what you're trying to make, which is the fastest way to find the right tool.
The core categories are listed top to bottom:
• Text-to-Video — generate a clip from a written prompt
• Image-to-Video — animate a still image you upload
• Text-to-Image — the classic prompt-to-picture path
• Image-to-Image — transform or restyle an existing image
• Image Tools — utilities like background removal
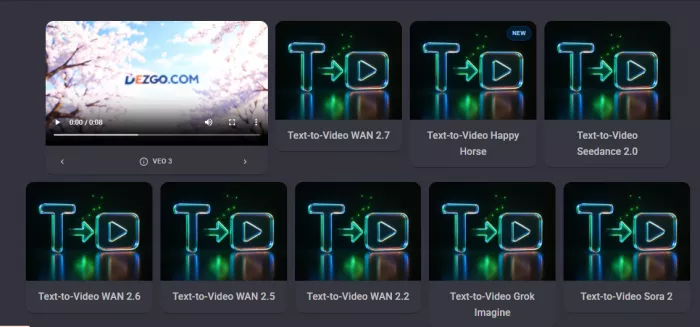
Below those sit FAQ / Support, a full Models index, the Blog, API docs, and community links. Each category expands into multiple model variants, which is where the choice gets real. On the Text-to-Video grid alone you'll see WAN 2.6, 2.5, 2.2 and 2.1, two Kling versions, Sora 2, Veo 3.1, Grok Imagine, and Seedance 1.0, ten different engines for the same kind of task.
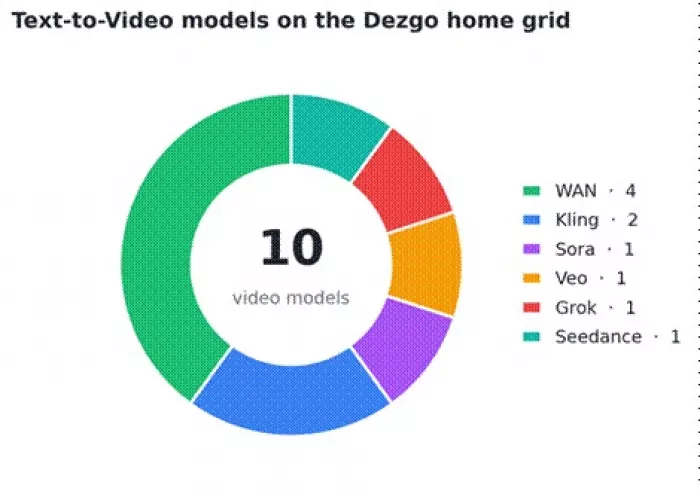
Text-to-Video model families visible on the Dezgo home grid (WAN leads with four versions).
That breadth is the whole point of Dezgo, and also the first source of confusion — nothing tells a beginner which engine is “best,” so picking one is part trial, part preference.
Real example From the Text-to-Video options, the user opens “Text-to-Video WAN 2.7.” The model loads on its own page with its own prompt box and settings, ready for input. |
Here's a quick map of the categories so you don't open the wrong tool:
| Category | Input | Output | Typical use |
| Text-to-Image | A written prompt | A still image | Concept art, thumbnails, product shots |
| Text-to-Video | A written prompt | A short video clip | Ads, scene tests, social clips |
| Image-to-Video | An uploaded image | An animated clip | Logo reveals, motion from a still |
| Image-to-Image | An image + prompt | A reworked image | Restyling, variations |
| Image Tools | An uploaded image | An edited image | Background removal and clean-ups |
Text-to-image is the most beginner-friendly corner of Dezgo and the place where the free path stretches furthest. The flow is short:
1. Open a text-to-image model from the sidebar.
2. Type your prompt in the description box.
3. Adjust the settings the model exposes usually output size and a few generation parameters.
4. Run the generation and wait for the preview.
5. Download the result, or run it again with a tweaked prompt.
Plain image generation is where Dezgo feels cheapest. Standard models burn through very little balance, and even a free account can explore quite a bit before anything needs topping up. The cost climbs when you reach for the higher-detail XL models or batch several images at once both lean toward Power Mode. The next chart shows just how different that math is.

Video is where Dezgo gets ambitious, and where free accounts run into the wall. Pick a model WAN, Kling, Sora, Veo, Seedance, take your choice, and the tool opens on a page titled “Generate a video from a text description,” with the expected processing time shown right under it.
The controls are straightforward:
• Prompt — describe how the final clip should look
• Resolution — e.g. 720p
• Duration — a slider for the clip length in seconds
• Aspect ratio — 16:9, plus others under More options
Real example Prompt goal: “Create a 15-second cinematic product ad for a luxury eyewear brand,” with a polished headline and a clean, ad-ready layout. Settings: 720p resolution, 15-second duration, 16:9 aspect ratio. |
On WAN 2.7 the header notes a processing time of roughly 1 to 15 minutes — video takes real GPU work, so it's never instant. But on a free account, you don't even get to the wait.
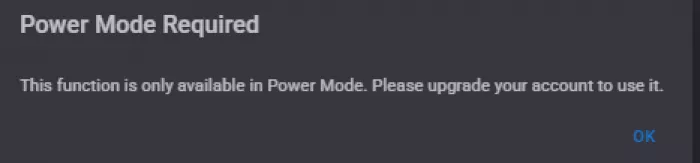
Heads up: Power Mode wall Click Run on a free account and a dialog appears: “Power Mode Required — This function is only available in Power Mode. Please upgrade your account to use it.” Text-to-video is gated end to end. Without balance, the Run button is effectively a paywall.
|
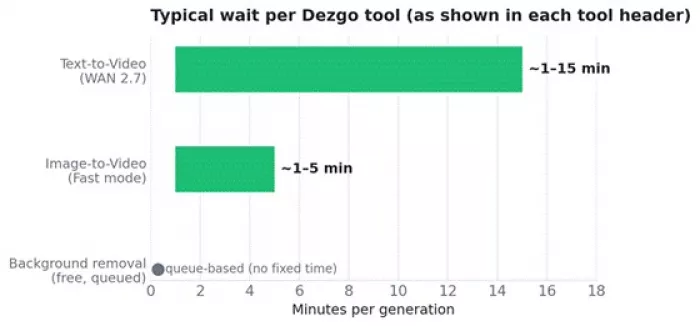
Processing-time ranges shown in each tool's header. Video tools are the slow, Power-Mode-gated ones.
Image-to-video animates a still you provide instead of building a scene from words. The tool page reads “Generate a video from an image” and lists a shorter processing time, usually around 1 to 5 minutes.
The steps:
1. Choose a Mode, most models offer a Fast and a higher-quality variant.
2. Write a prompt describing the motion or look you want.
3. Upload your image. Note the size cap, some models auto-resize to a maximum of 512x512px.
4. Run the generation.
Some image-to-video models carry a tag like “This is a SFW (Safe For Work) only model,” so it's worth reading the small print before you upload anything brand-sensitive.
Here's the tool free users can actually finish: background removal, found under Image Tools and clearly marked FREE in the corner. It's the most useful thing on the platform if you never plan to add balance.
The flow:
1. Open Remove background from Image Tools.
2. Upload your image, the cap here is larger, up to 768x768px (auto-resized).
3. Pick a Mode from the dropdown, such as “Return the original image with transparency.”
4. Run it. Free requests are queued, so you'll see “Your free request has been queued, please wait…” with a paid “Get faster results” nudge beside it.
5. When it finishes, the cut-out appears with Download and Shop buttons.
Power Mode is the paid layer, and understanding it removes most of the confusion around Dezgo. It isn't a monthly subscription — it's a prepaid balance you top up and draw down, handled through Stripe with cards, PayPal, Apple Pay, Google Pay, or Link.
Topping up your balance switches on four things:
• Speed — your requests skip the queue and process immediately
• More features — Video AI plus all 114 image models and extra parameters
• Batches — up to 10 images at once across multiple GPUs
• No ads — a cleaner, distraction-free workspace
Free users keep the basics: cheaper image generation and the background-removal tool. Everything time-sensitive or video-related stays locked. The cost itself is usage-based, and the gap between standard and XL images is large enough to plan around.
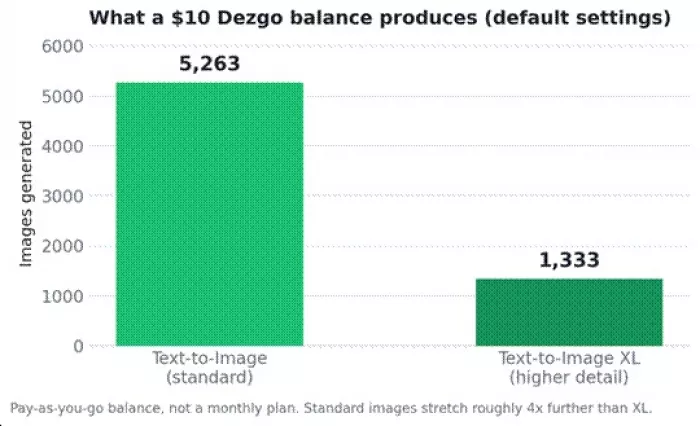
A $10 balance goes about four times further on standard images than on XL.
Read that as a rough budgeting rule: standard images are cheap enough to experiment freely, XL detail costs roughly four times more per image, and video draws from the same balance while taking minutes per clip. If you only ever do background removal, you may never need to add a cent.
Here's how a real session plays out on a free account, walls and all:
1. Log in through the email link. Balance reads $0.0000.
2. Open Text-to-Video and pick a WAN model. Write a 15-second product-ad prompt, set 720p and 16:9.
3. Hit Run and the “Power Mode Required” dialog stops the job cold.
4. Pivot to something the free tier can finish: open Image Tools and Remove background on a logo.
5. The free request queues, then returns a partial cut-out usable, but not a perfect isolation of the full logo.
6. Download what's usable and call it. The takeaway: without topping up, the free path covers image generation and background removal, while every video door stays shut.
That sequence is the honest shape of Dezgo on a free account plenty to explore, a hard stop the moment you want motion.
•Match the model to the job. Each tool header states the input type and processing time, read it before you start.
•Write structured prompts. Lead with the subject, then setting, lighting, mood, and style. Descriptive beats long.
•Start small and standard. Begin with standard images before reaching for XL detail or 10-image batches.
•Learn on the free tools first. Background removal and the cheaper image models teach you the system before any balance is added.
•Read the per-tool notes. SFW-only tags, resolution caps, and processing times are all stated up front — they save wasted runs.
Dezgo is powerful but model-heavy, and that's both its strength and its learning curve. The sheer number of tools means there's almost always an engine for the job, and almost always a decision to make about which one and whether it costs credits.
The free tier is genuinely useful for what it is: a place to explore image generation and clean up backgrounds without spending anything. The best results, though, come once the structure clicks which tools are free, which need Power Mode, and which model family suits which task. Learn that map first, and the rest of Dezgo stops feeling like a paywall and starts feeling like a workshop.
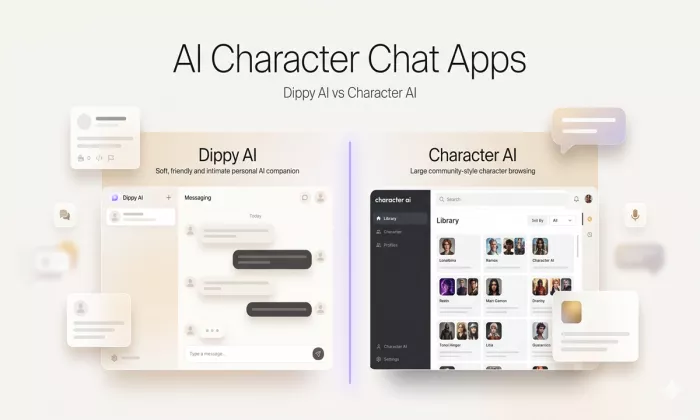
Character AI publicly advertises free unlimited conversations and a li...

A growing focus in the AI industry is shifting from building smarter m...
Akool AI is not one tool but six: AI video, avatars, face swap, video...
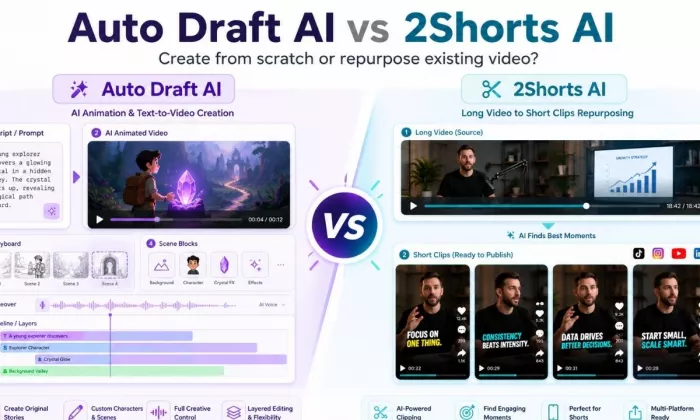
I compared Auto Draft AI and 2Shorts AI because both show up when crea...
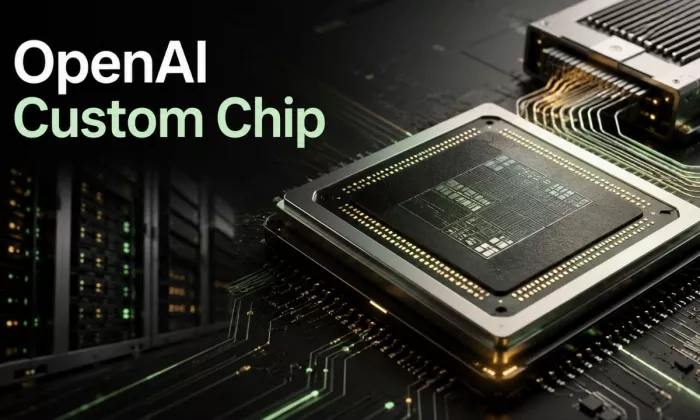
OpenAI has reportedly unveiled its first custom-designed AI chip, deve...
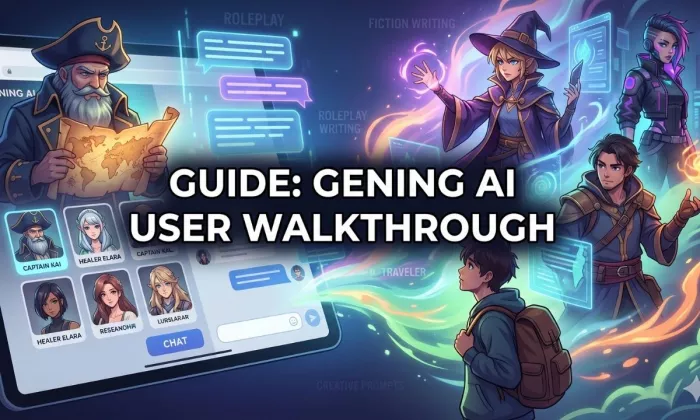
I tested Gening AI the way a normal user would. I opened the site, bro...
Discussion